Sunday, August 23, 2020

Guide for replacing Nintendo Switch Joy-Con Battery

Remove the four Tri-Point Y00 screws from the back panel of the Joy-Con.

Guide for replacing Nintendo Switch Joy-Con Battery 3Bvx41PUKLSvBBWd

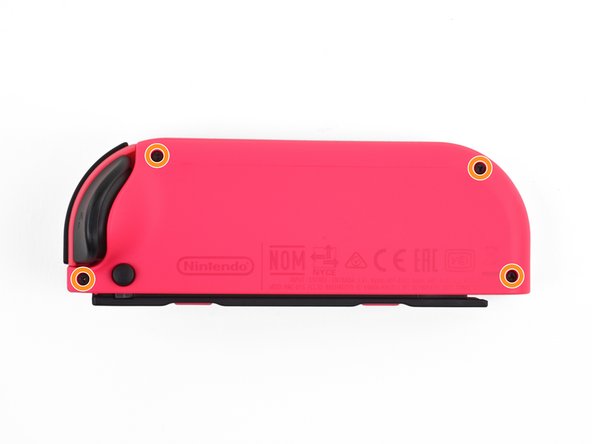
Insert an opening pick into the seam at the bottom edge of the controller (opposite the L and ZL buttons).
Guide for replacing Nintendo Switch Joy-Con Battery JeFnTOukwhPVEJc5

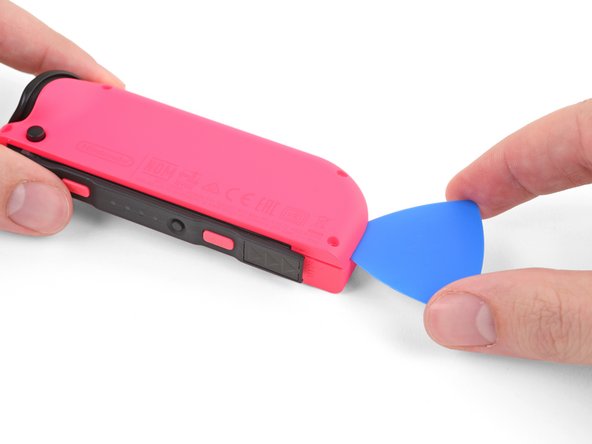
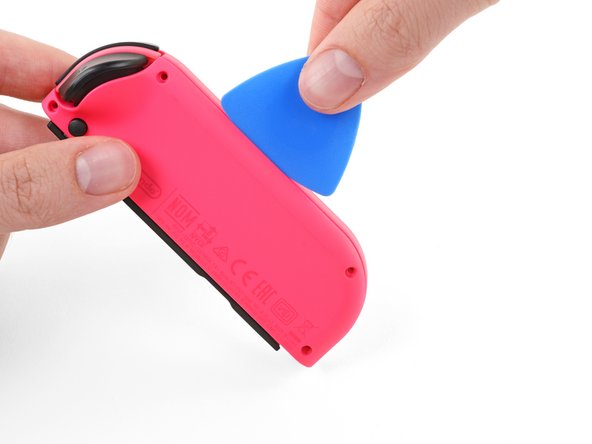
Slowly slide the flat edge of your opening pick up the side of the Joy-Con.
Guide for replacing Nintendo Switch Joy-Con Battery JWNd3b5g6FTqCsZC

With the charging rail facing away from you, open the the Joy-Con like a book.
Guide for replacing Nintendo Switch Joy-Con Battery Mmee2RMhPHOpquMA

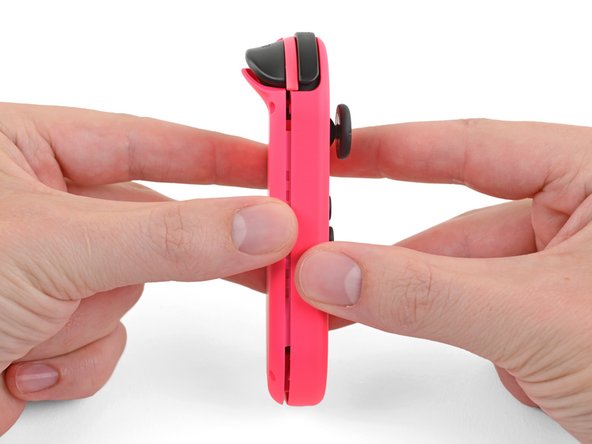
Don't try to fully remove the back panel yet. There are still two cables connecting the charging rail to the motherboard.
Guide for replacing Nintendo Switch Joy-Con Battery ACVGtmScSy5LndpA

Use a spudger to gently pry the battery connector straight up from its socket on the motherboard. This will keep the Joy-Con from powering on during the repair.
Guide for replacing Nintendo Switch Joy-Con Battery BOFJfsG3ZfMYEWRn

Insert an opening pick between the battery and the Joy-Con housing.
Guide for replacing Nintendo Switch Joy-Con Battery 6cTHHygYU6cOTdCa

Gently pry out the battery, which is lightly taped in place.
Guide for replacing Nintendo Switch Joy-Con Battery OSwESqQBxCK6DaET

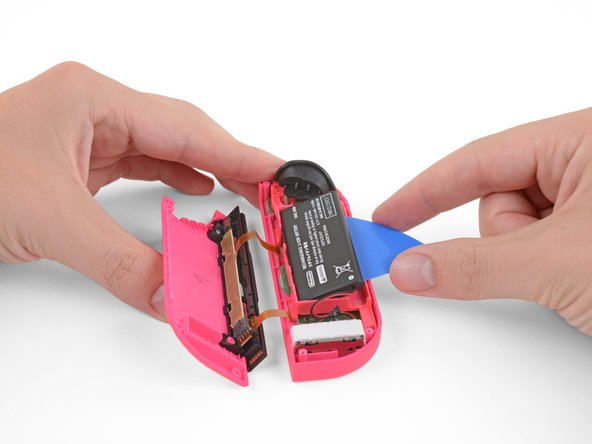
Be careful not to deform or puncture the battery―it can catch fire or explode if damaged.
Guide for replacing Nintendo Switch Joy-Con Battery 3oaAkL6JKc161WPO

Install the new battery
Guide for replacing Nintendo Switch Joy-Con Battery 0?e=1600905600&v=beta&t=T4u_h981mvmKneKtnK1XadsDGHvDm0HmqOWliNMQ1G8

Follow us on Wechat to see more battery repair guides.
Guide for replacing Nintendo Switch Joy-Con Battery 0?e=1600905600&v=beta&t=1Bd7xRBjTq-5ntlrYMMaq3z7ZgPbhdrLnDUmvgyJu8s

No comments: